
BillBook help
Getting started
BillBook is built so a busy Guyanese business owner can go from signup to a professional invoice in one sitting. Here's the whole journey.
1 · Create your account
Sign up with your email and confirm it (check your spam folder if the email doesn't show — Gmail sometimes files first-time senders there). Every new account starts with a free 14-day trial of the Growth plan, so you can try everything before choosing.
2 · Set up your business profile
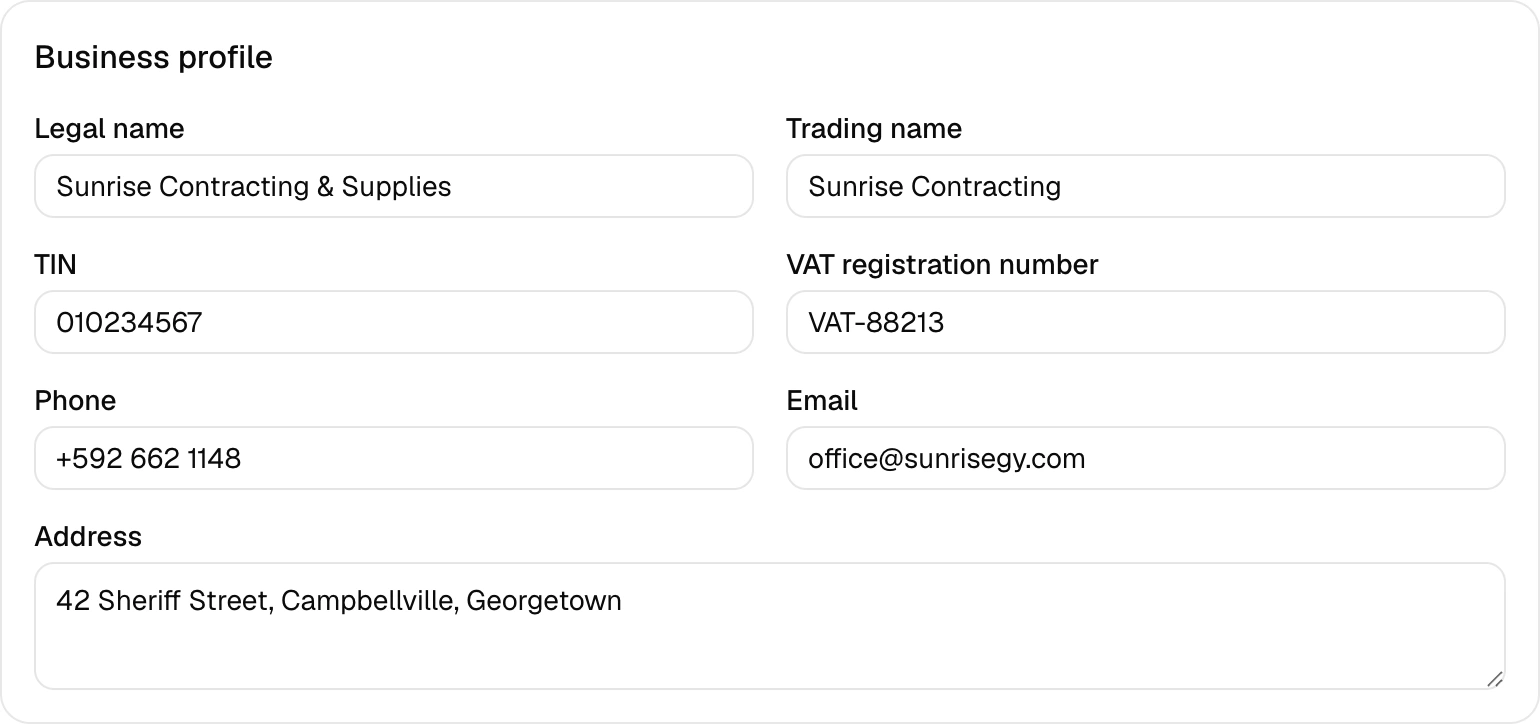
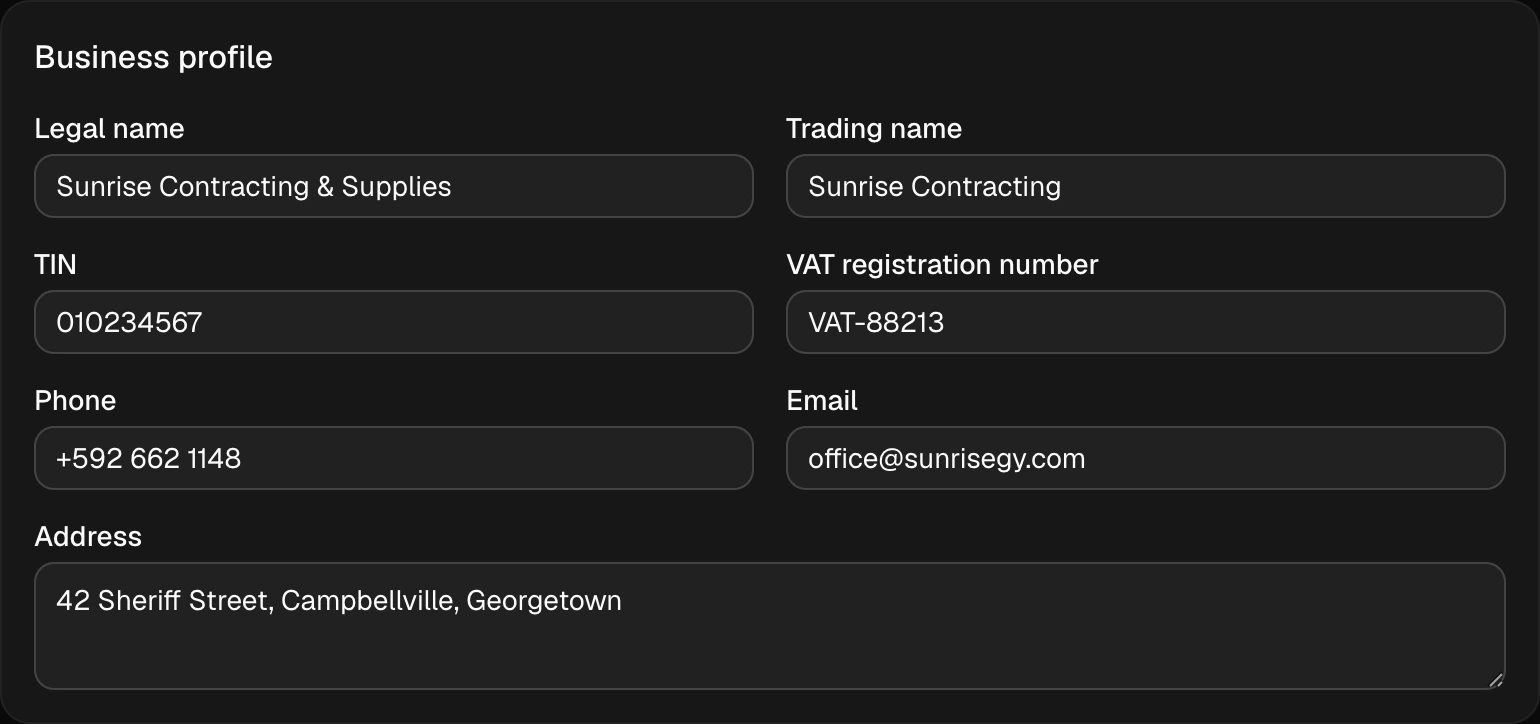
Head to Settings and fill in your business details — legal name, trading name, TIN, VAT registration (if you have one), address and phone. These appear on every document you send, so it's worth two minutes to get them right once.
Upload your logo while you're there. BillBook can strip a plain background automatically, and warns you if your logo is mostly white (it would vanish on printed paper).
3 · Add a customer and some items
Customers holds the people and businesses you bill — name and phone number is enough to start. Items is your price list: save what you sell once (name, price, VAT type) and you'll never retype a line item again.
You can also skip this and type everything directly on your first invoice — BillBook doesn't force a setup ritual.
4 · Make your first document
Documents → New. Pick the type (quote, invoice, receipt…), choose a customer, add lines — tap saved items or type fresh ones — and VAT calculates itself. Numbering is automatic and sequential, the way GRA expects.
5 · Send it
Every document has a Share button: send a link straight into WhatsApp, download a PDF, or print. Your customer sees a clean page with the document and your payment details — no login, no app, nothing to install on their side.
What you'll see every day
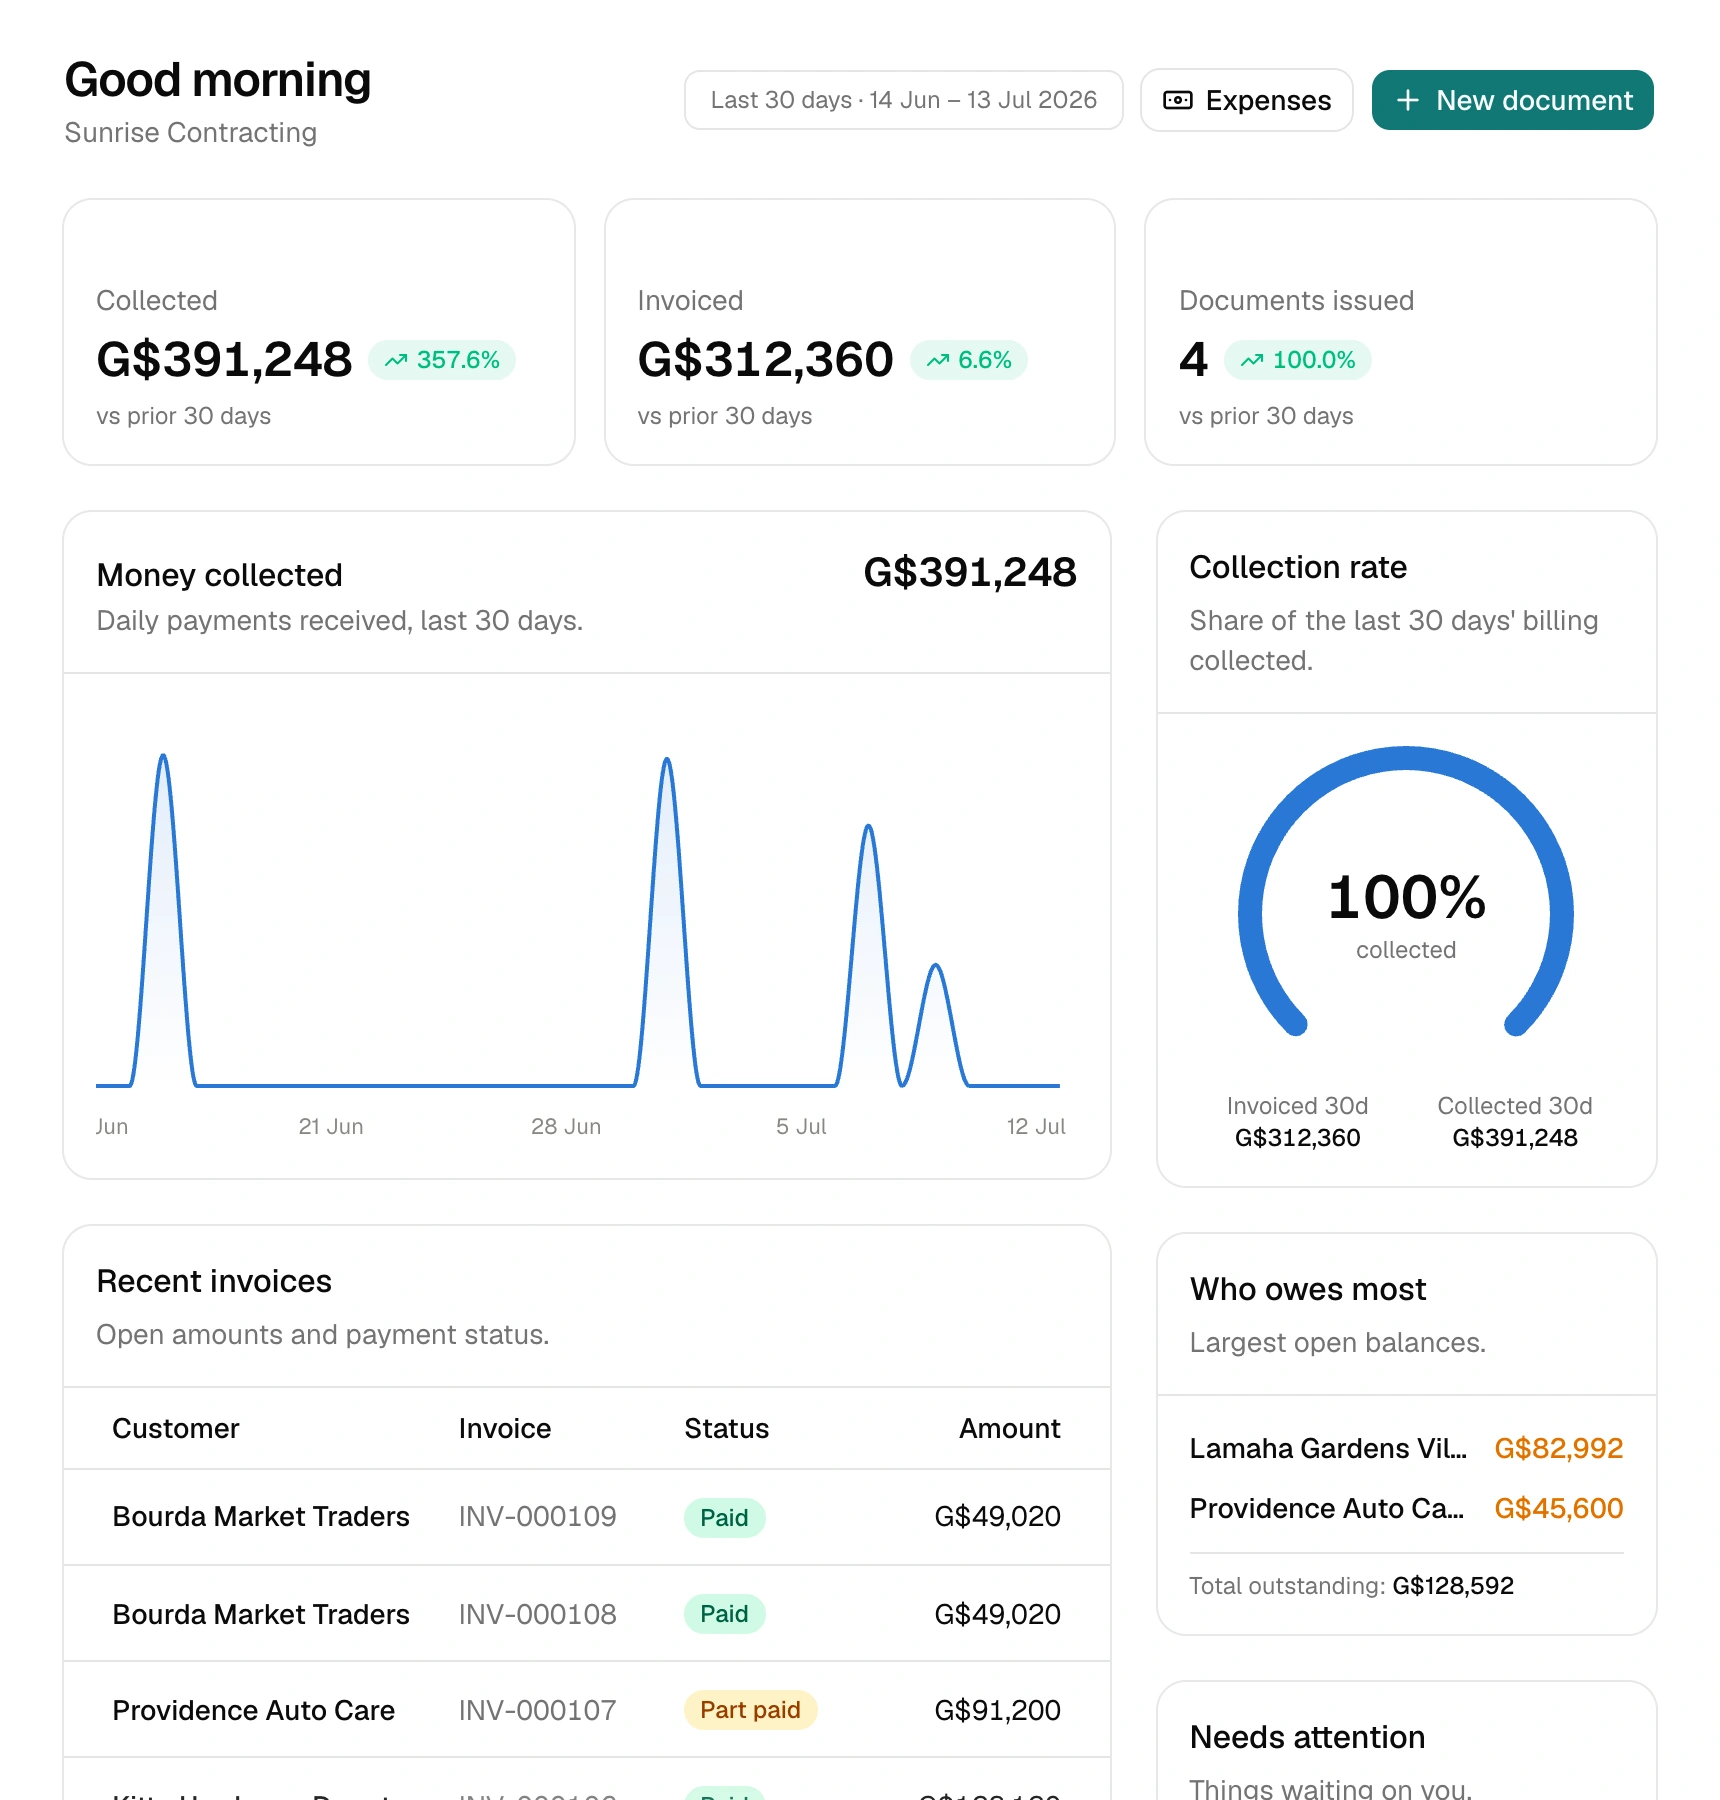
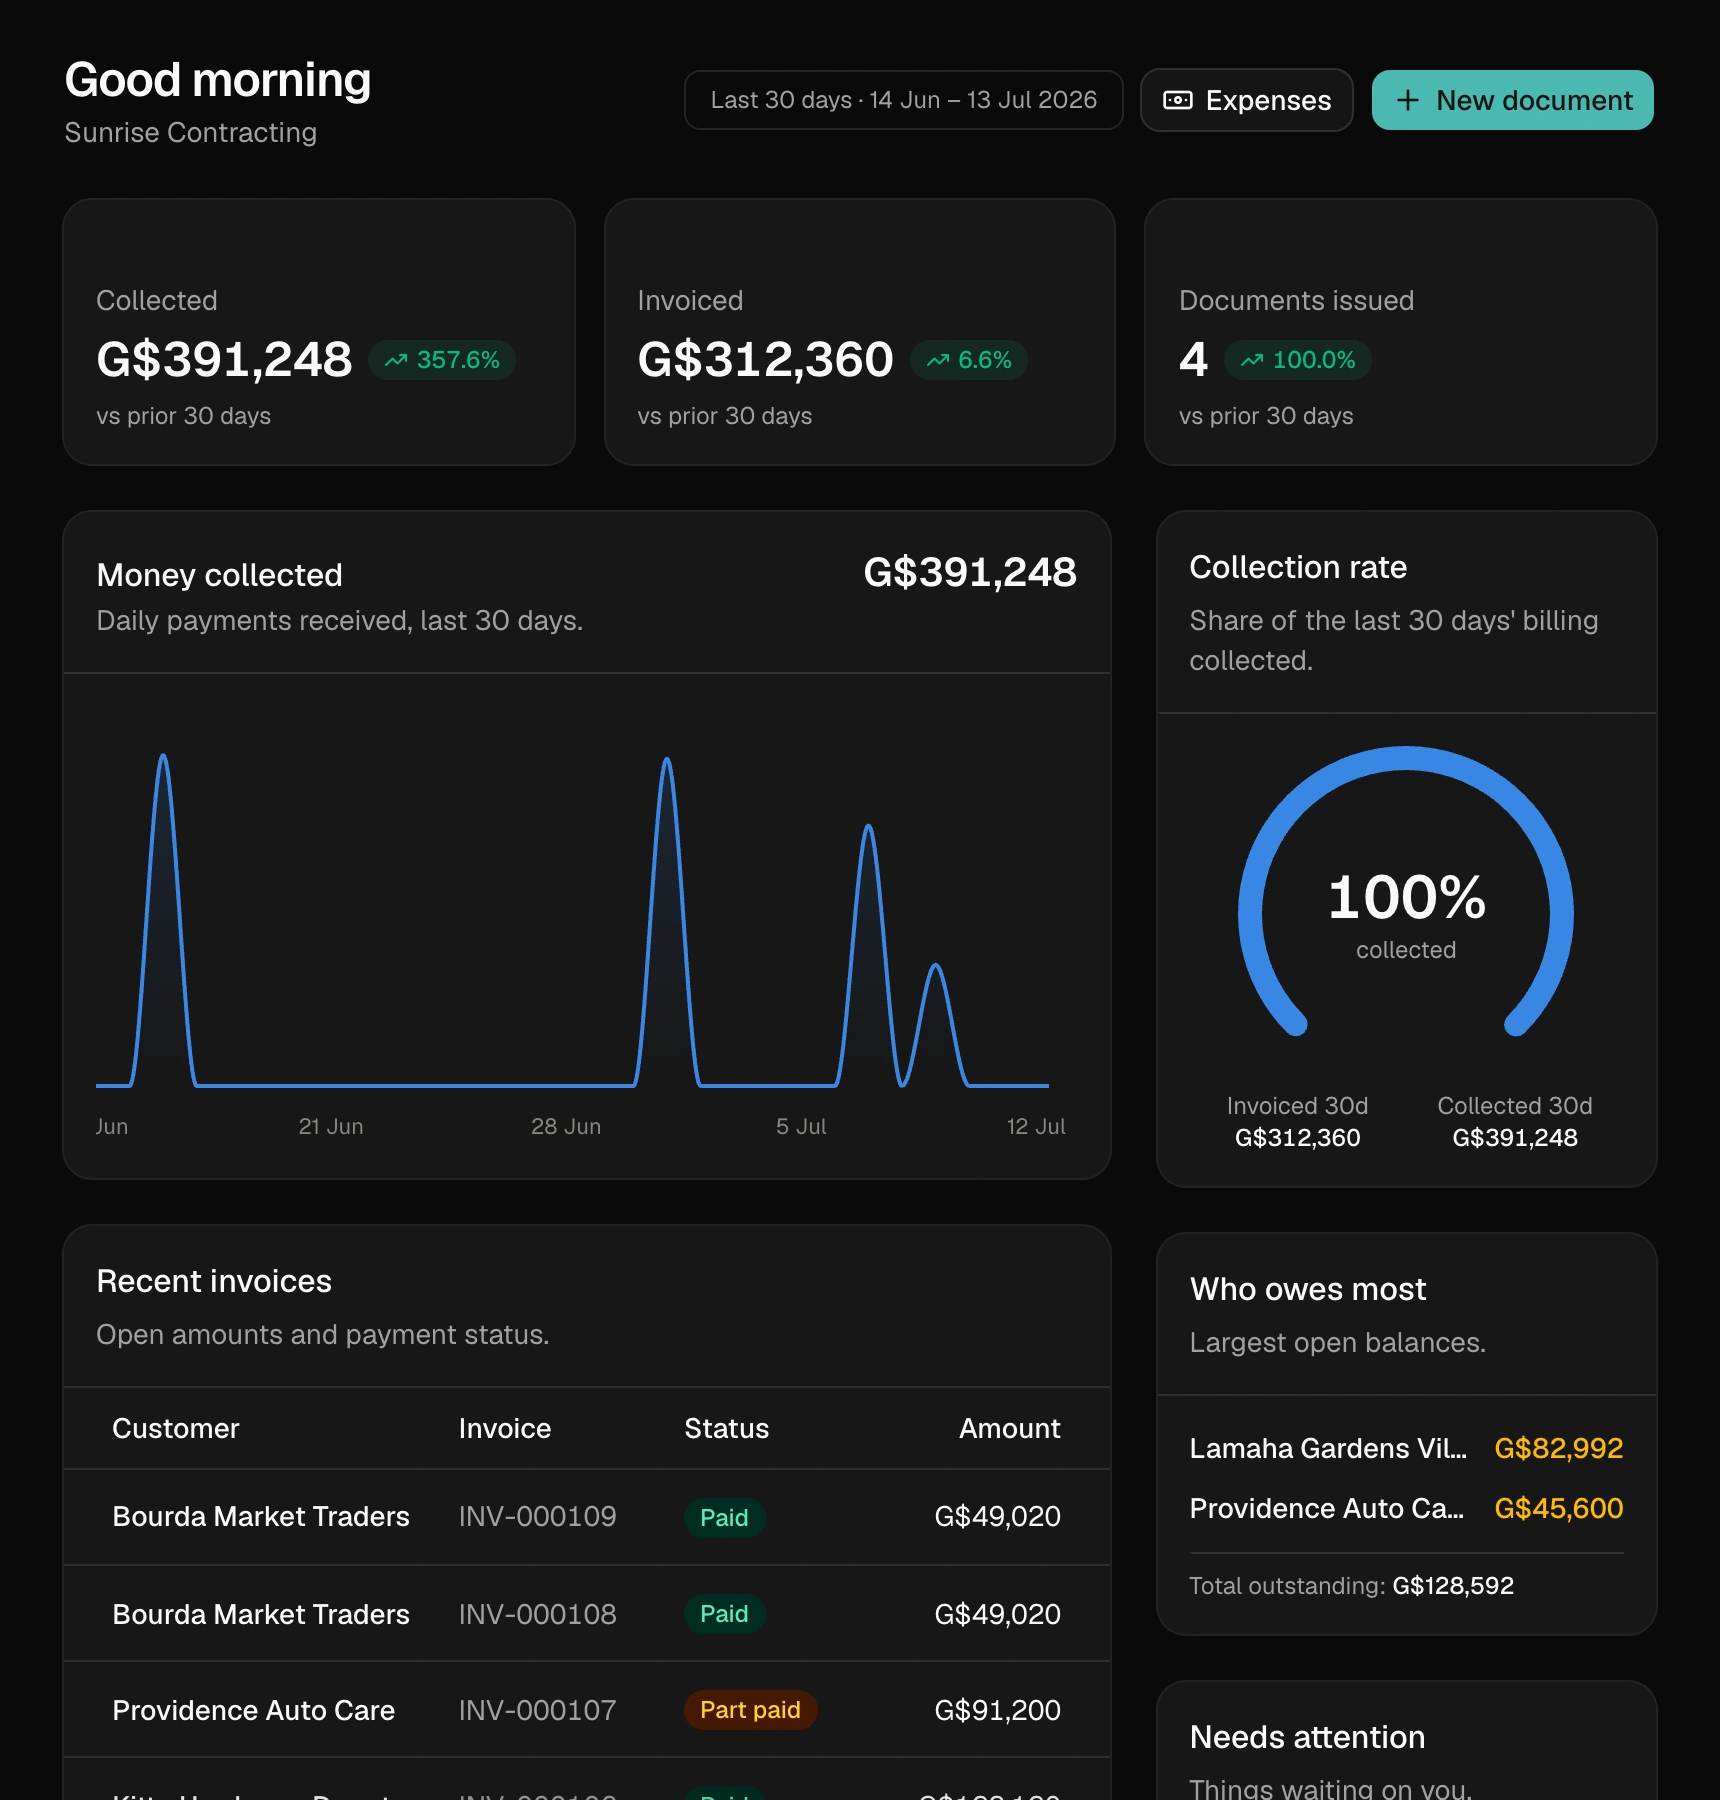
The Dashboard is your morning glance: what came in, what's invoiced, what needs attention — with the trends against the prior 30 days so you know if the month is ahead or behind.